


In our latest livestream, we tackled an exciting challenge: building a fully functional chat app just with AI.
Using Rosebud AI, our no-code platform, we turned our idea into a live, multiplayer chat application in just minutes.
If you're a beginner who prefers to vibe code rather than code traditionally, this guide walks you through the entire process.
We'll cover:
- Creating the app frontend (user interface)
- Adding backend functionality
- Setting up your database with Supabase
- Testing and debugging your app
You can also adapt these same steps to create interactive AI games or other web apps on Rosebud AI.
Step 1: Creating the Frontend of Your Chat App
Start by logging into Rosebud AI and selecting the "Build Web App" template. Hit "Remix" to create your own copy.
Next, prompt Rosie, our built-in assistant, to start designing your chat app:
"Make this into a sleek, dark mode chat app."
Rosie will suggest layout options—choose a basic chat layout first. Then prompt:
"Make it so users can enter a username and get a random emoji as their avatar, and also send messages."
Within seconds, you’ll have a working frontend interface ready for backend integration.
Step 2: Understanding Backend Basics
If you're new to app development, you’ll need to know that the frontend is what users interact with directly (buttons, chat messages, visual elements), while the backend manages the data—like storing chat messages or user details.
Without a backend, your messages wouldn't be visible to other users, as data wouldn't persist across sessions or different devices.
This is exactly why we need to add backend functionality.
Step 3: Adding Backend with Supabase
Rosebud AI integrates smoothly with Supabase, a reliable backend platform ideal for quick app setups.
Setting Up Supabase:
- Create a free Supabase account and a new project.
- Note your project URL and public API key (available in the Supabase dashboard).
Back in Rosebud AI, prompt Rosie:
"Set up backend with Supabase. My project backend URL is [your URL] and API key is [your API key]."
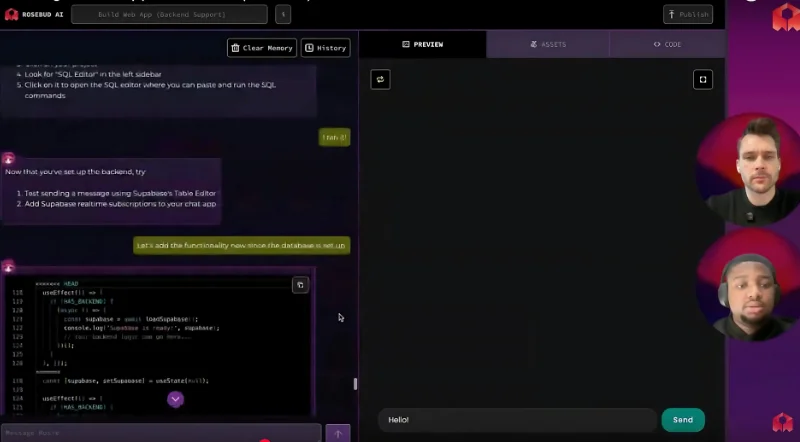
Creating a Database
Rosie will provide SQL code to create the necessary database tables for your app:
- Go to Supabase's SQL Editor and paste the provided SQL.
- Run it to set up tables like "messages" and "chat_users."
Tables store your chat data, similar to how a spreadsheet organizes information.
Step 4: Debugging and Improving Your Chat App
Testing your app might reveal issues—this is normal! Common fixes include:
- Ensuring form buttons aren't blocked by Rosebud’s sandbox (use divs instead).
- Updating SQL or RLS (Row Level Security) policies if data isn’t syncing or messages don’t appear in real-time.
Prompt Rosie for help if errors arise:
"I got an error: [paste the error message]."
Rosie typically suggests straightforward solutions, keeping your vibe code experience smooth.
Step 5: Final Test & Launch
After debugging, test your chat app thoroughly:
- Open multiple instances to simulate different users.
- Confirm messages sync in real-time.
Once working smoothly, your AI-powered chat app is ready to share!
Beyond Chat Apps: Vibe Code Multiplayer Games
Using these same steps, you can create multiplayer games or other interactive web apps effortlessly.
For example, an AI-powered game could use Supabase to manage high scores, multiplayer interactions, or dynamic in-game events.
Creating a chat app with AI doesn’t have to be complicated.
With Rosebud AI, anyone can vibe code applications without traditional programming.
Ready to turn your app idea into reality?
Head over to Rosebud AI and start vibe coding your chat app today!
