


You can now start creating games with Rosebud AI Game Maker!
The process is as easy as prompt, publish, and play.
Watch this video below to see how Rosebud AI works and keep reading to learn the interface and basic features:
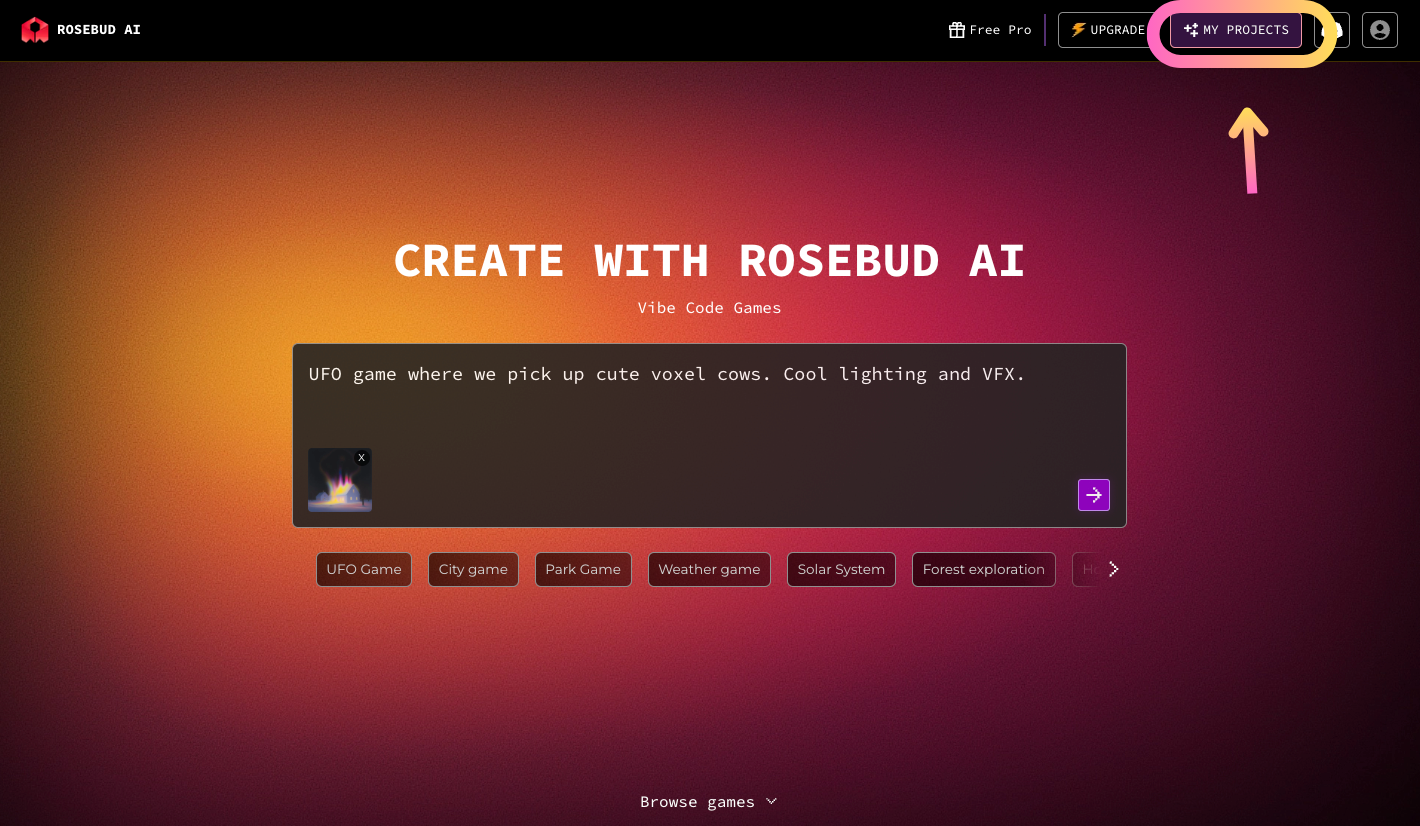
🏠 Homepage: Prompt to Play in Seconds
When you first land on the homepage, you’re greeted with a smart prompt box.

Here you can:
- Type your own prompt
- Upload an image to start from a visual inspiration or a game reference
- Click the purple arrow to generate your project and enter the game editor
Below the prompt box, you'll find Browse Games, where you can explore trending games created by other users and remix them.
After you select your starting point, you'll be dropped directly into the game editor.
🧠 Game Editor
1. Left Side: Chat with Rosie, Your AI Game Developer
Once inside the game editor, you'll chat with Rosie — the AI assistant who helps you write code and improve your game with smart suggestions.
- On the left, you’ll find the Chat tab. This is where you type prompts like “add lava in the dungeon” or “make a night-time forest with fog.” Rosie will write code and apply it to your game.
- You can also upload images here to guide style and mood.
- Next to the prompt box, use the Screenshot button to capture bugs or visuals and send them to Rosie with a message like “this wall is too tall.”
"Continue with next step" Suggestions
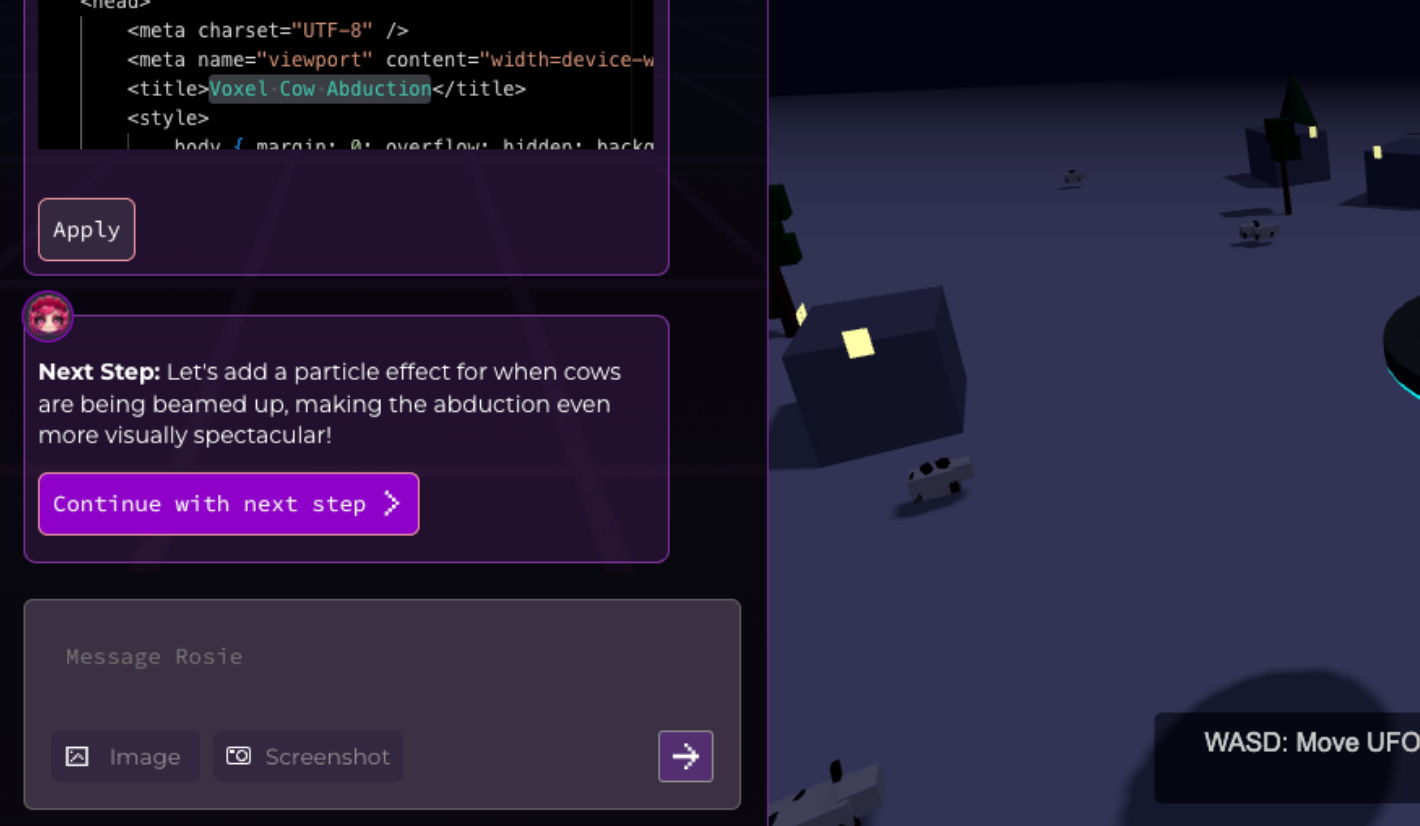
After each of Rosie’s replies, she may suggest logical follow-ups — for example, “Want to animate the lava?”
Click Continue with next step to move forward without typing another prompt. It’s an easy way to build iteratively.
Memory & History
- Clear Memory: Use this to refresh Rosie’s temporary memory. Best used frequently, right after being done implementing a feature.
- History: Every code change is auto-saved. Use History to roll back or rename checkpoints when testing new features or debugging.
How to Change Your Game Title in Rosebud AI
To change the title of your game in Rosebud AI, simply hover your mouse over the current title. When you do, a small pen icon will appear — click it to edit. It’s a quick way to personalize your project. Give your creation a name that reflects your game’s vibe or theme!
2. Right-Side: Preview, Assets, Code Tabs
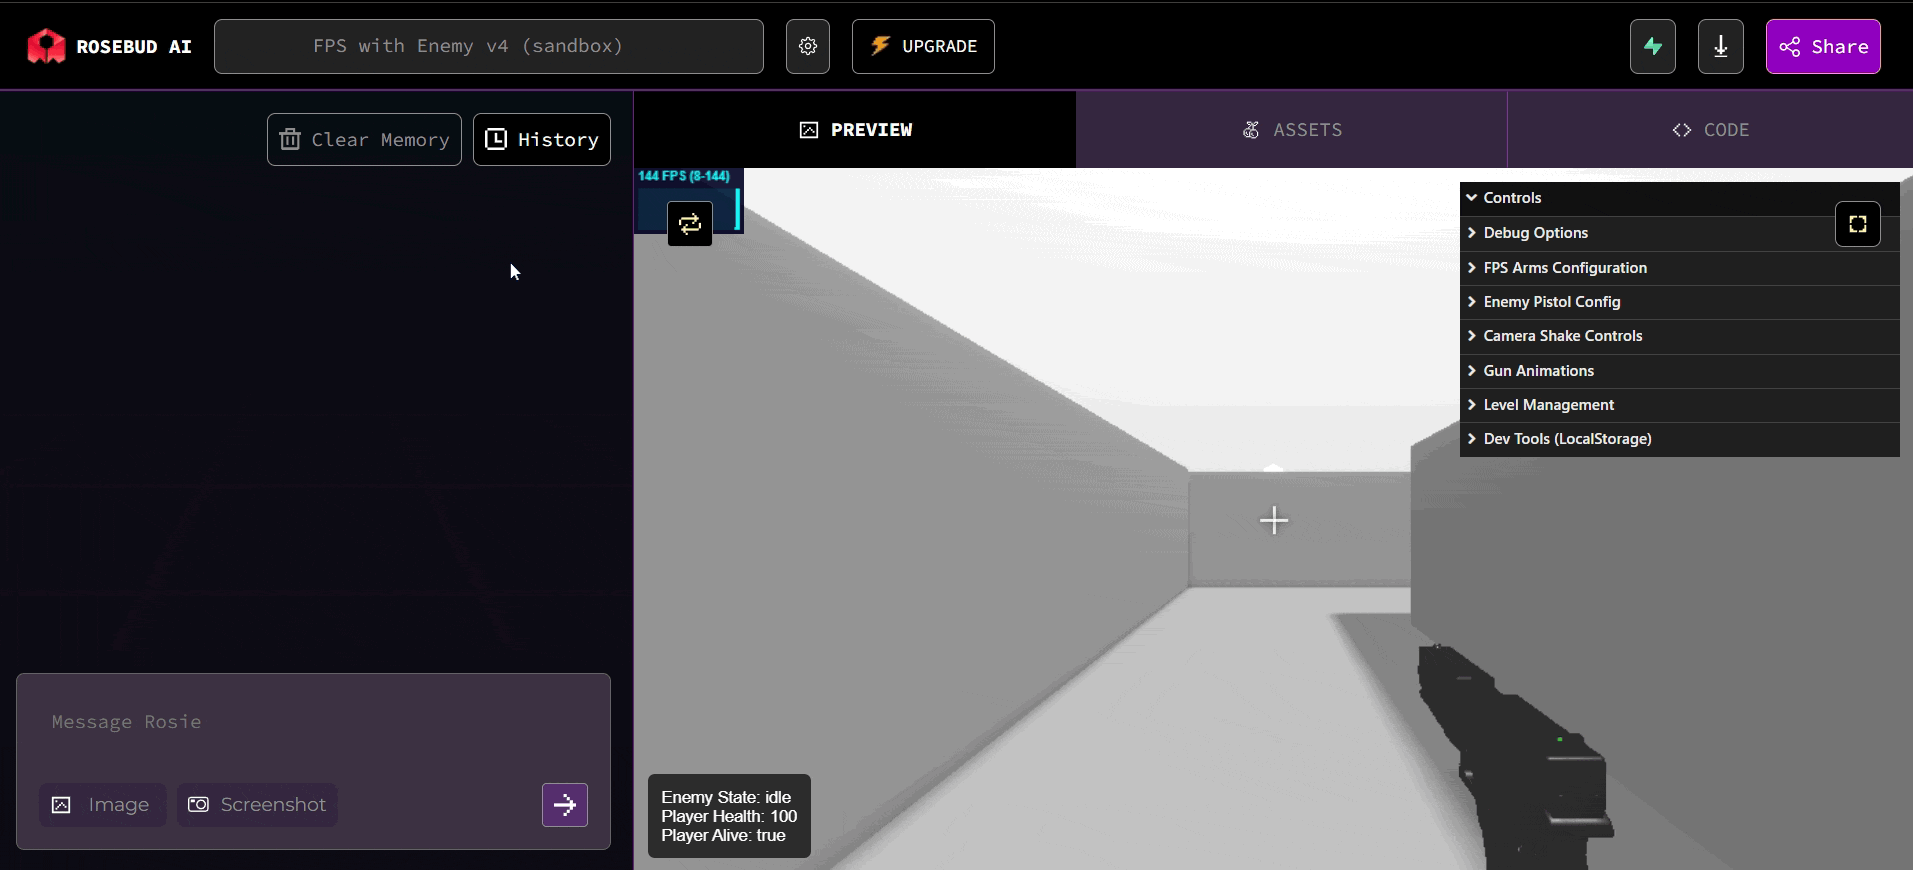
1. Preview Tab
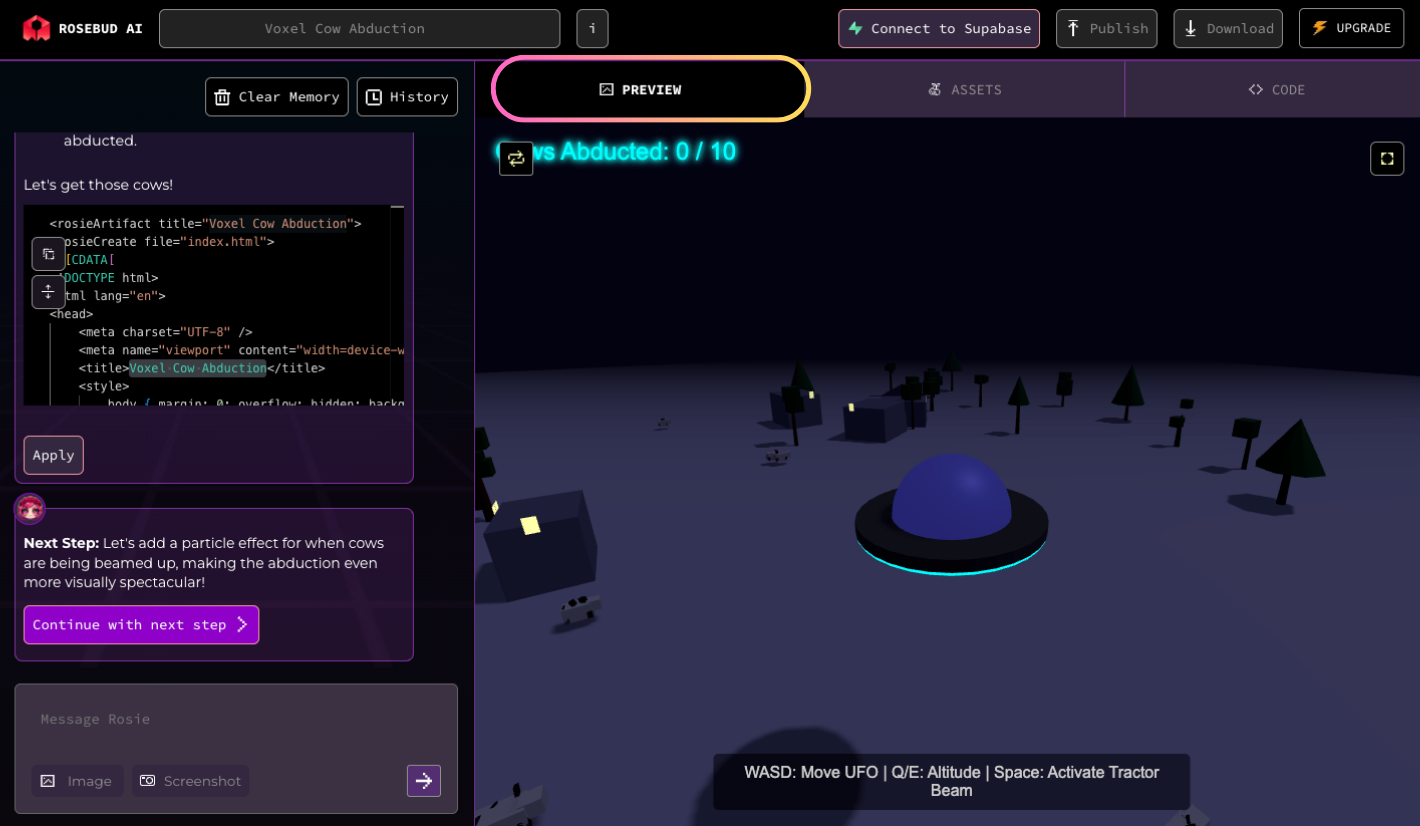
This shows a live view of your game. Use the refresh button to restart from the beginning, or go fullscreen to test your game in immersive mode.
2. Assets Tab

Here, you can:
- Upload 3D models, audio, or images
- Supports popular 3D formats like
.glb,.gltf,.obj, and more.
- Supports popular 3D formats like
- Drag-and-drop files or paste URLs
- Filter assets by “in this project” or view everything you’ve uploaded before
- Generate images with background removal or not
3. Code Tab (Paid users only)
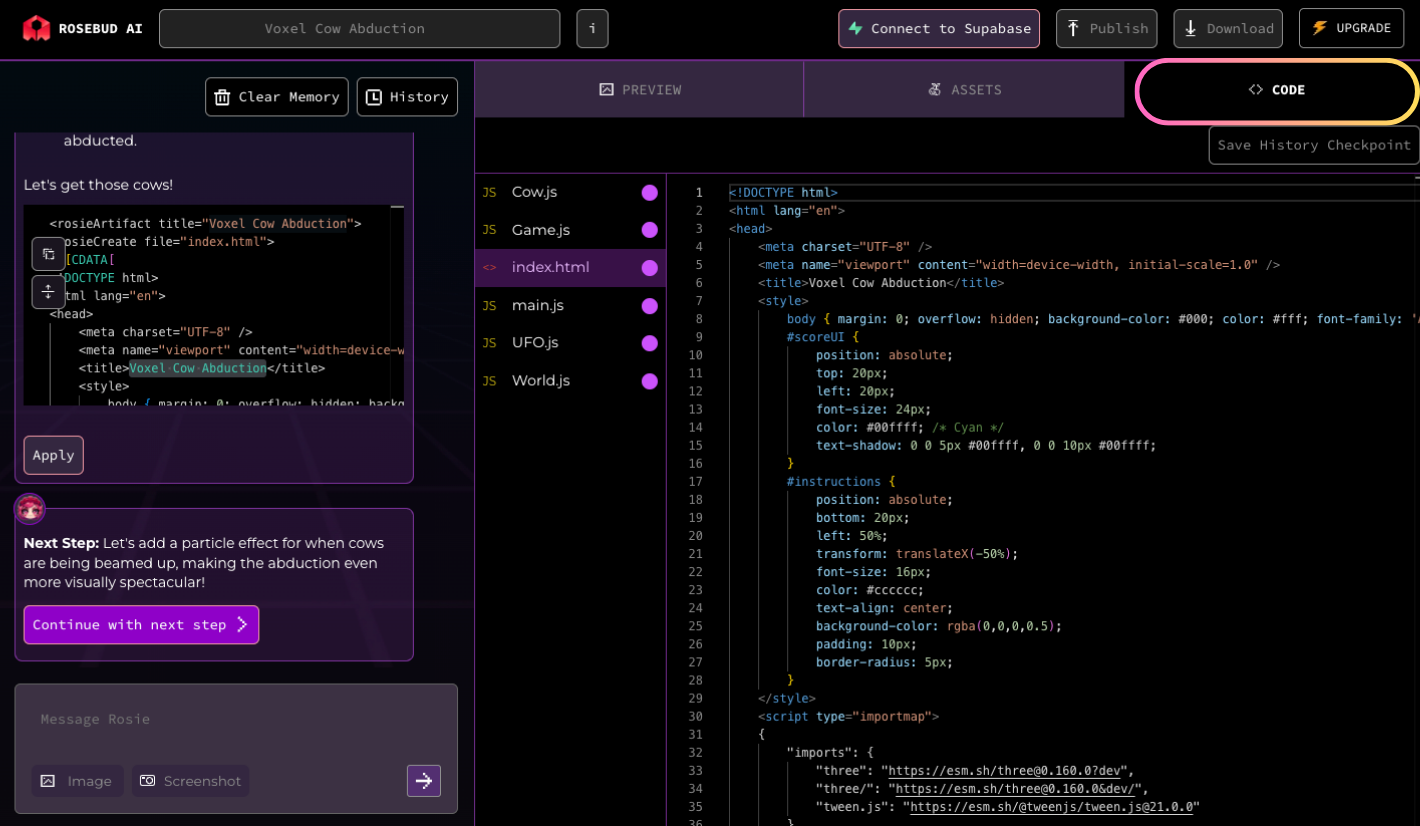
Edit your project’s code manually and view all files. After edits, hit Save Checkpoint so you can always revert.
Advanced note: For larger projects, select only the files Rosie should read to keep responses fast and relevant.
3. Top Navigation
Connect Supabase: Add Login, Backend, Multiplayer
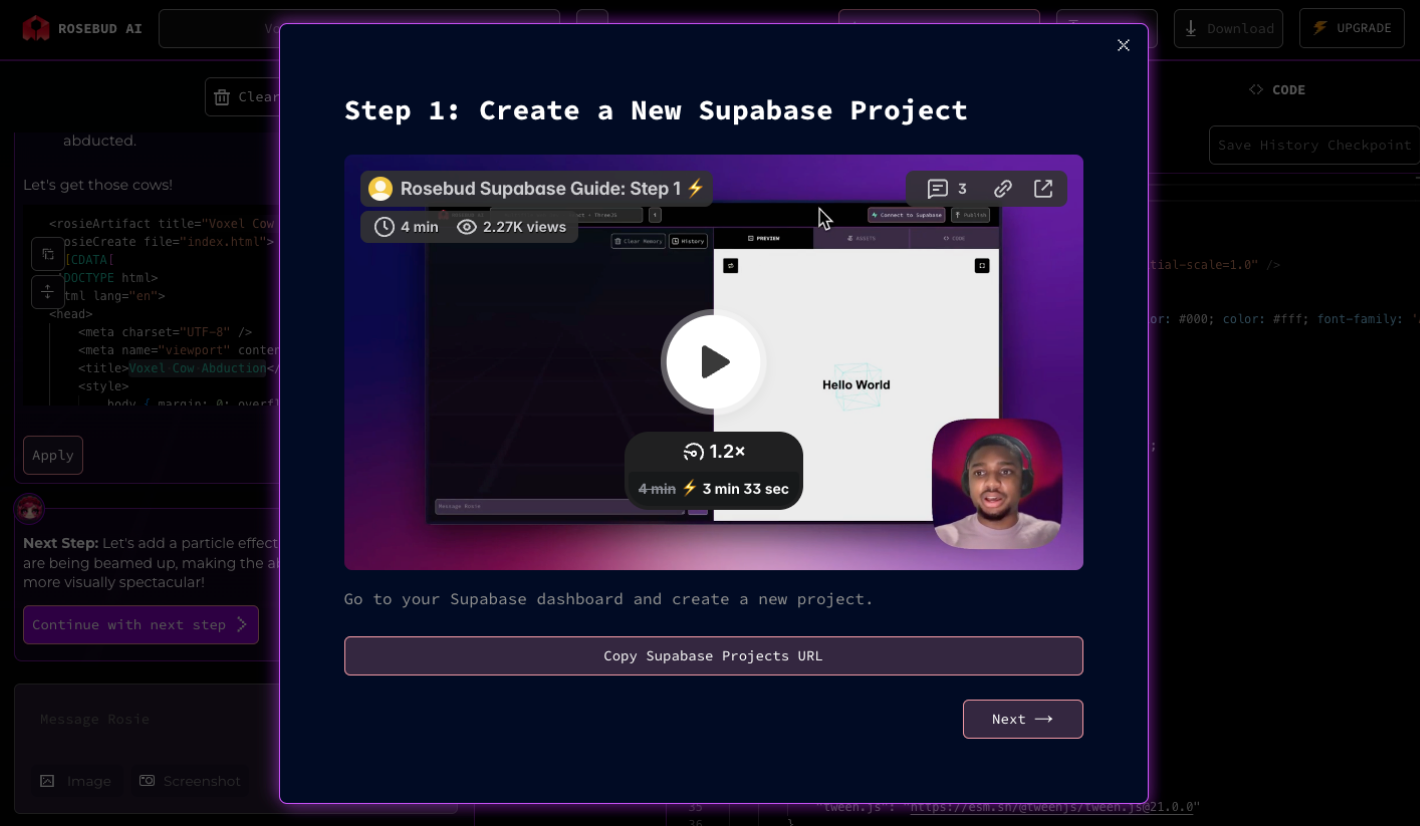
Want player accounts, online state, or game data stored in the cloud?
Use the Supabase button in the top nav to instantly connect a backend.
Add features like:
- Secure login for players
- Multiplayer functionality
- Persistent game data
👉 See our full multiplayer tutorial here →
Download Your Game Code (only for Pro and up)
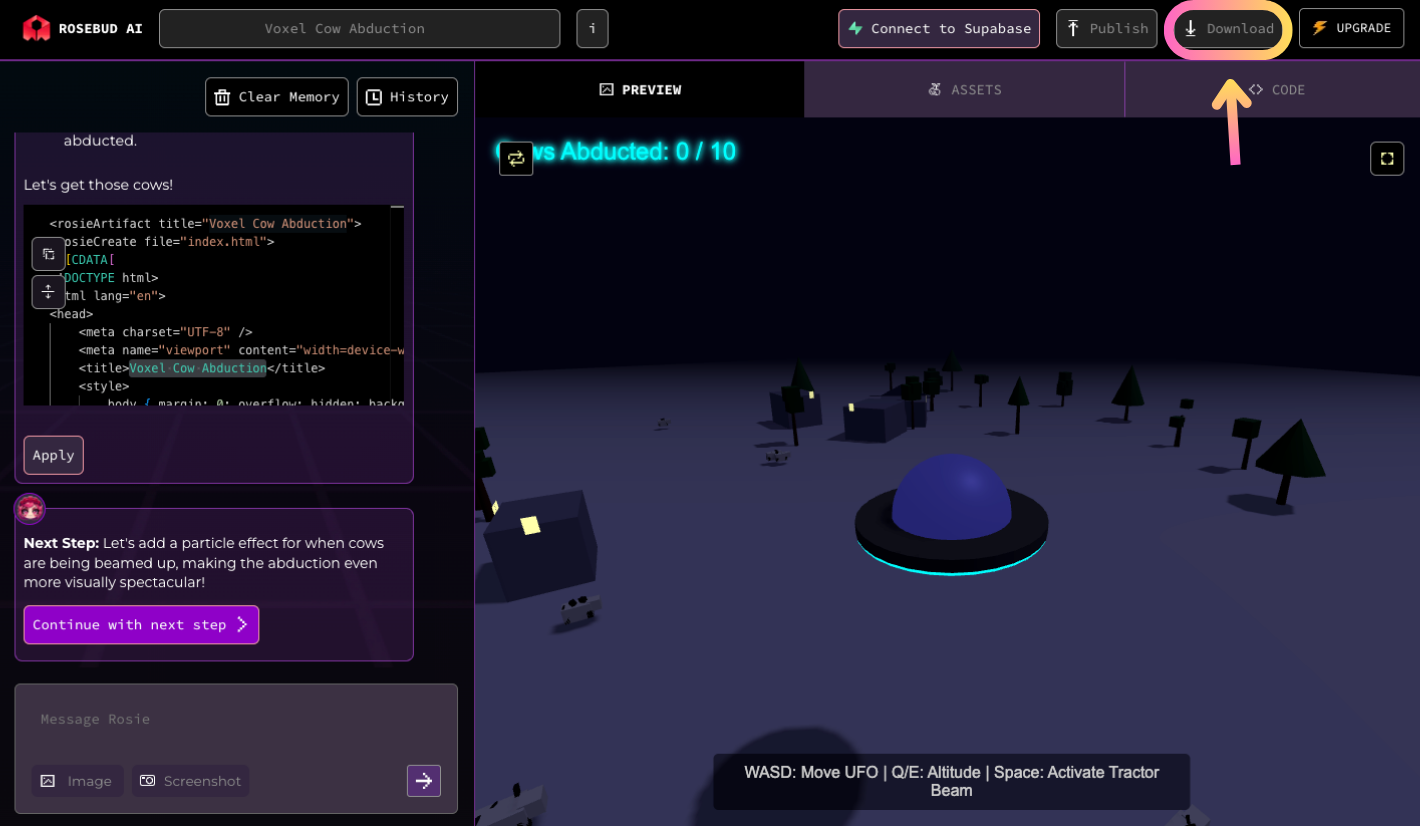
Pro users and above can download their game code from the top menu.
This lets you host your game on your own server or deploy it independently wherever you wish.
🚀 Publishing Your Game
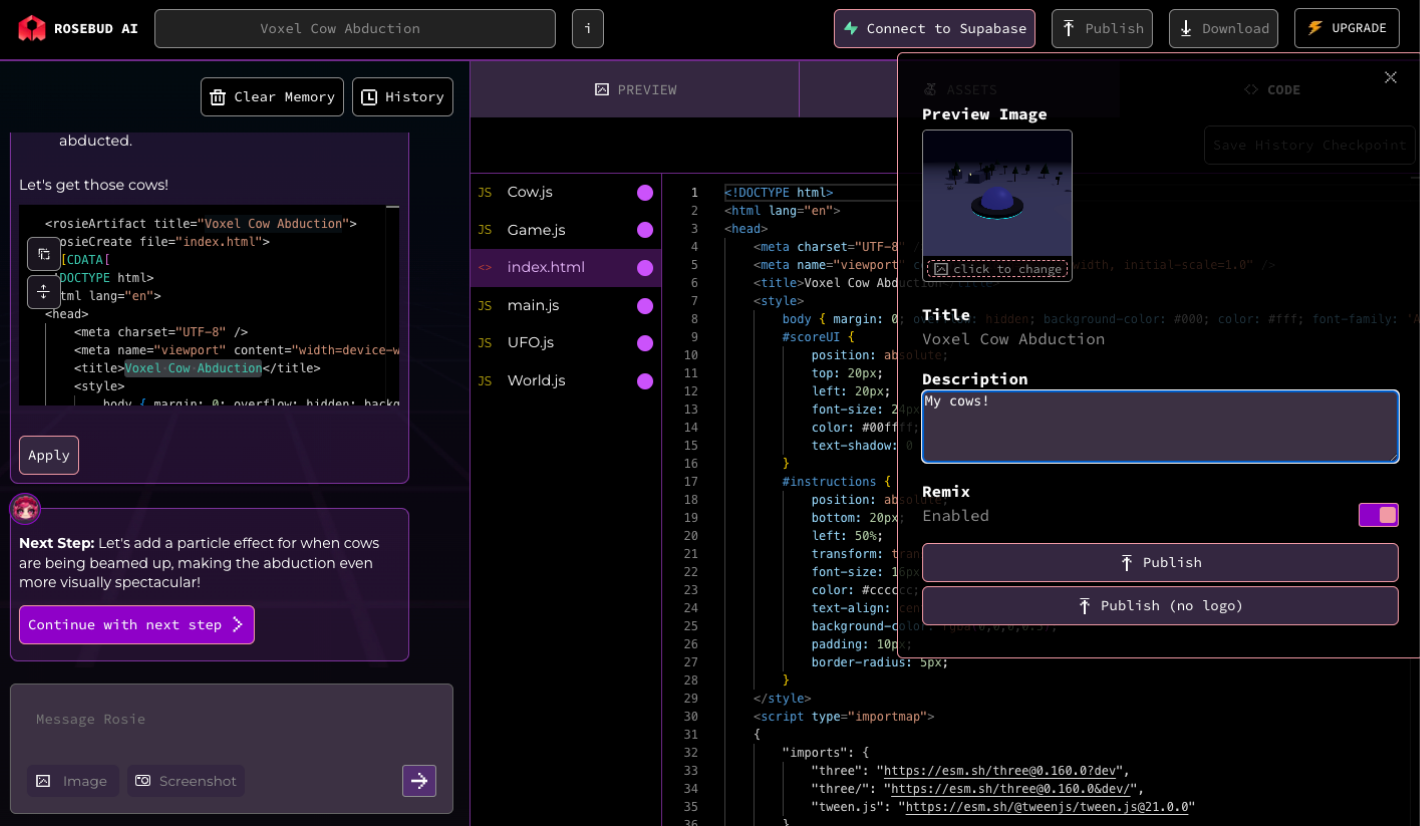
When you're done building:
- Click Publish
- Add a title, description, and thumbnail
- Choose whether remixing is allowed (if your plan supports it)
- (Optional) Publish without watermark — available for higher-tier plans
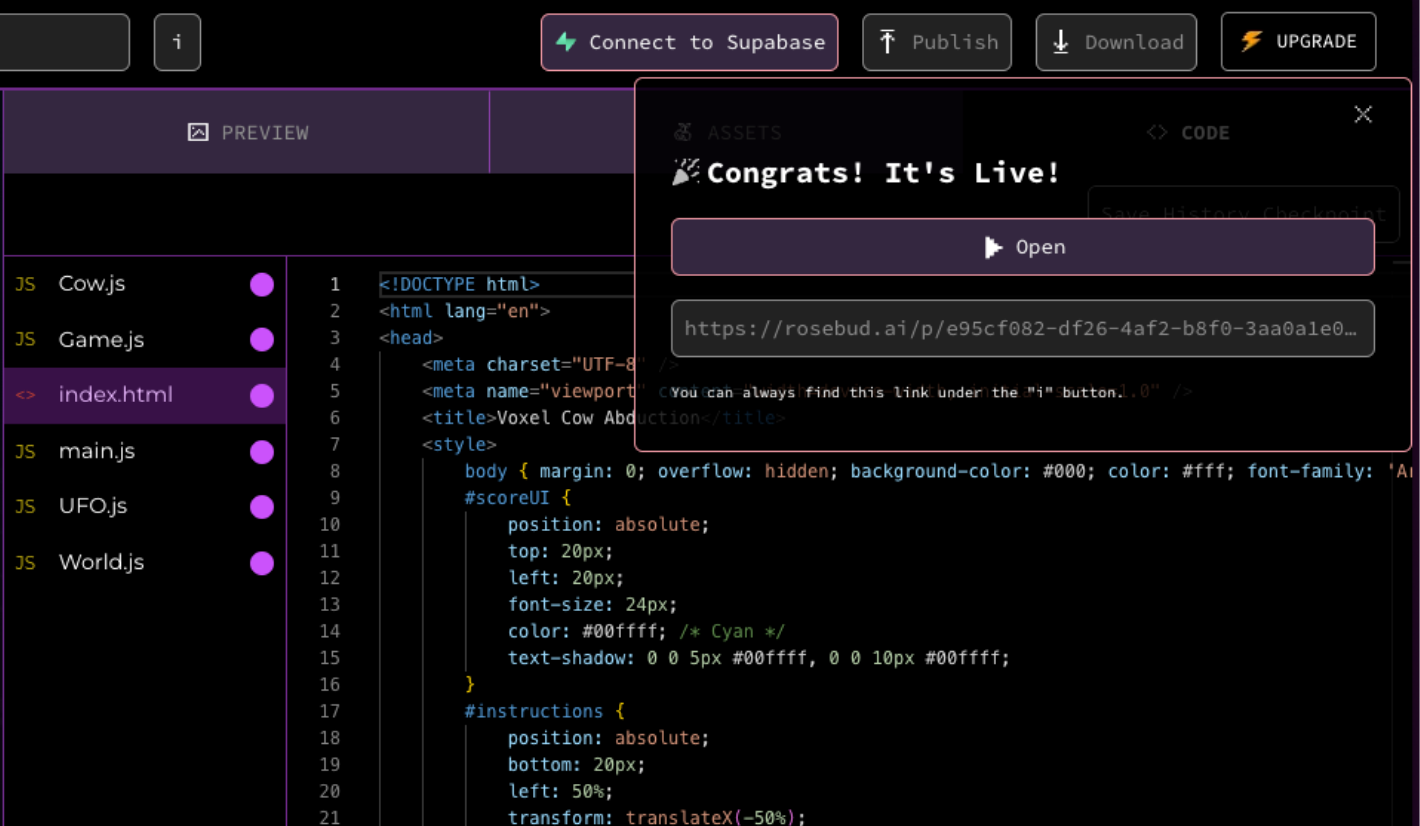
You’ll receive a public URL to share your game. Anyone can play — no login needed.
🗂️ My Projects & Profile
Click My Projects in the top right corner to see all the games you've created or remixed.
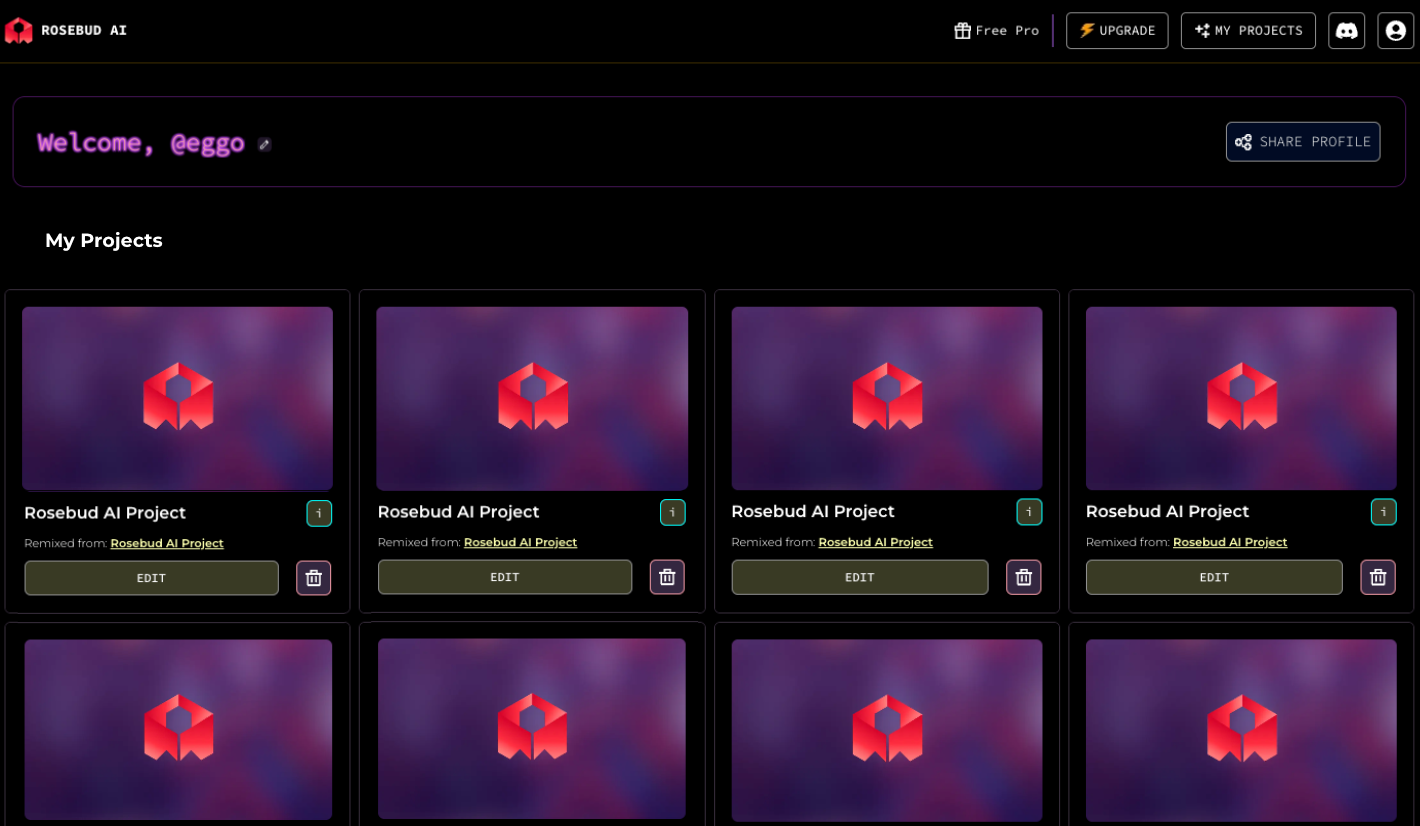
Inside the My Projects dashboard, you can:
- Edit projects by clicking the Edit button on any card
- Delete projects with the trash icon to stay organized
- Rename your username by clicking the pencil icon next to your name at the top
- Share your public profile with others using the "Share Profile" button — perfect for showcasing your work or sending to friends
🧪 Remixing a Game
When you find a game that interests you, click the Play button to try out the game directly.

If you want to remix the game, you can click the Remix this game button that appears when you click on Rosebud AI Create watermark in the bottom right.

This will create a copy of the project in your My Projects section, where you can edit and customize it to your liking. This is a great way to learn and experiment with different ideas.
💬 Join the Rosebud Community

Click the Discord icon in the top nav to join the official Rosebud AI community.
It’s the best place to:
- Ask for help
- Share work-in-progress builds
- Get feedback and discover other creators
🌹 Start Creating
Type a prompt. Make a game. Share it.
No engines, no installs, no coding skills required.
Create Your First Game Today
